

The Joy of ATS 1: Installing ATS
The first in a series of ATS tutorials on how to install ATS on *nix Operating Systems.
Introduction
Welcome to a new series of tutorials that I plan on writing over the course of the next several months called “The Joy of ATS.” For starters, you may not be familiar with ATS, as I wasn’t until a few months ago. From the ATS website, ats-lang.org:
ATS is a statically typed programming language that unifies implementation with formal specification. It is equipped with a highly expressive type system rooted in the framework Applied Type System, which gives the language its name. In particular, both dependent types and linear types are available in ATS.
What that means is that it has a highly-sophisticated type-checking system that goes well beyond type-checkers seen in other languages that you may be familiar with.
To give a quick example, let’s look at an array; a conventional type-checking system, would only ensure that the variable used to access the array is an integer type (some don’t even go that far!), but one can very easily get a run time error if that integer is larger than the size of the array or smaller than zero, no good! In ATS, the array has additional type-checking information attached to it, the size of the array, which allows the ATS type-checker to ask an additional question: “is it possible for an integer larger than the size of the array or below zero to be passed as a subscript to this array?” If it is possible, ATS will tell you at compile time instead of runtime, allowing you to solve that “constraint,” which will ensure that you never see an array out of bounds error.
While the nature of the sophisticated type-checker gives ATS a more nuanced syntax that may harder to grasp, once you master that syntax, you will find that ATS is one of the most fun programming languages to write code in, and that the joy you get from seeing a program that you (and the compiler) know is correct is unparalleled by any other language, hence why I named this series “The Joy of ATS.”
Installing Dependencies
Before we can install ATS itself, we need to install a few utilities that ATS needs in order to build and function:
- GCC: The GNU Compiler Collection is a set of compilers for common programming languages, mainly used to build C code.
- Git: The most popular distributed version control system (dvcs), which we will use to pull the latest version of ATS.
- GMP: The GNU Multiple Precision Arithmetic Library is a very correct and efficient math library.
- BDWGC: A conservative garbage collector for C/C++.
- JSON-C: A tool for creating/reading JavaScript Object Notation (JSON) objects in C.
The Package Manager
First and foremost, we need a package manager to install a handful of dependencies. If you are using a Linux system, then I’m going to assume that you are familiar with your distribution’s package manager (Advanced Packaging Tool (apt), Pacman (my favorite), Yellowdog Updater, Modifier (yum), etc.), I will be showing all the Linux commands using apt-get since it is the most widely used, but all you need to do is use the corresponding command with your package manager.
Note: Some package names may be different on different managers, you should be able to run a query or two to intuitively figure out the name for your particular package manager, leave a comment if you are having trouble locating a particular package, and I’ll see if I can help you out!
On macOS, we’ll need to install a package manager ourselves. Fortunately, macOS is built on top of the BSD code base, so we can very easily unlock its potential as a development powerhouse. The first step is installing the Xcode Command Line Tools, which is a collection of terminal utilities that come by default in a majority of Linux distributions. The installation can easily be done by executing the following command in your terminal emulator of choice (mine is iTerm2, but the default macOS Terminal application will work just as well):
$ xcode-select --install
Now, we can install a package manger of our own! We will be installing one called “Homebrew,” which is by far the most popular package manager on macOS. There are others available such as Fink or MacPorts, but for the vast majority of users, Homebrew is the best choice. To install it, once again from your terminal, run the following command:
$ /usr/bin/ruby -e "$(curl -fsSL https://raw.githubusercontent.com/Homebrew/install/master/install)"
After it finishes installing, you should familiarize yourself with it a bit by reading about it on its website, brew.sh, and/or its man pages by typing the following in the command line:
$ man brew
Installing Dependencies on Linux
This section will very a bit depending on your Linux distribution, and unfortunately I only have an Arch Linux box and an Ubuntu virtual machine to test on, so I won’t be of much help for every distribution under the sun. As I said in the previous section, I will only be providing the apt-get instructions, but if you’re having trouble, leave a commend and I or someone else should be able to help you out. Here are the apt-get commands to install all the dependencies:
$ sudo apt-get update
$ sudo apt-get install -y build-essential
$ sudo apt-get install -y libgmp-dev
$ sudo apt-get install -y libgc-dev
$ sudo apt-get install -y libjson-c-dev
Installing Dependencies on macOS
Let’s take our brand new package manager for a spin and install the dependencies with the following commands:
$ brew install git
$ brew install gmp
$ brew install bdw-gc
$ brew install json-c
$ brew cleanup
Installing ATS
The first thing we need to do is obtain the latest version of ATS and the ATS contributions, which are a bunch of ATS packages to extend its core functionality. You need to first choose a directory to install ATS in, I usually use my “Projects” directory, but you can use your home folder or any other folder of your choice (installing ATS only adds two folders). Open a fresh terminal, switch to your chosen directory, and execute the following commands:
$ git clone "git://git.code.sf.net/p/ats2-lang/code" ATS2-Postiats
$ git clone "git://git.code.sf.net/p/ats2-lang-contrib/code" ATS2-Postiats-contrib
Now we’re just about ready to build ATS and start writing some programs! We have to setup a few environment variables so that way the compiler knows where everything is. Assuming that you’re in the directory that you cloned everything to, execute the following commands:
$ export PATSHOME=${PWD}/ATS2
$ export PATSCONTRIB=${PWD}/ATS2-contrib
$ export PATH=${PATSHOME}/bin:${PATH}
While we’re at it, we should add those definitions to our environment permanently, since we’ll need them throughout the rest of our ATS-programming career. If you’re familiar with maintaining environment variables in your .bashrc, .zshrc, or .zshenv files, simply add the above definitions to the dot file you use, otherwise, execute the following commands:
$ echo "export PATSHOME=${PWD}/ATS2" >> ${HOME}/.bashrc
$ echo "export PATSCONTRIB=${PWD}" >> ${HOME}/.bashrc
$ echo "export PATH=${PATSHOME}/bin:${PATH}" >> ${HOME}/.bashrc
The file, .bashrc is basically a file that tells your system various bits of information, and in this case, we’re adding the location of your ATS directory and ATS contributions directory, so we can always find them. We’re also adding your ATS directory to your PATH, which basically tells your computer where to look for programs to execute, so when we need to compile something, our computer will be smart enough to look in our ATS directory.
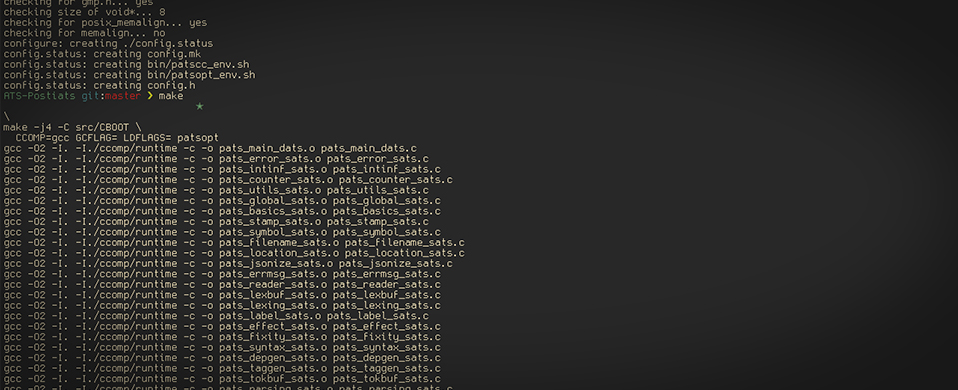
Now that all our setup is done, we can finally build ATS! The following commands are all thats required to build ATS:
$ cd ${PATSHOME}
$ ./configure
$ make all
Maybe a little anti-climatic after all that setup, but at least we’re ready to go! If all you want is a basic ATS install, you can stop reading here and start reading the tutorial while you wait for “The Joy of ATS 2!”
Upgrading ATS
ATS is very much a work in progress so updates come out somewhat regularly, updating ATS can be done simply by executing the following commands:
$ cd ${PATSHOME}
$ make clean all
$ git pull
$ ./configure
$ make all
Easy! Once in a while, you might want to do a fresh install of ATS, especially if you think something is not working the way it should, but this method should work in a majority of situations.
Hope this post was helpful to all of those trying to get ATS up and running on their own machines, stay tuned for future posts in the series, and feel free to comment any questions/problems that you have!
Happy type-checking!


Share this post
Twitter
Google+
Facebook
Reddit
LinkedIn
StumbleUpon
Pinterest
Email